

You can froth milk without a frother using things you already own: a jar, a French press, a whisk or a hand blender. The method matters less than the temperature. Milk heated to about 60–65 °C (140–150 °F) holds foam well, and milk pushed past about 70 °C (160 °F) tastes flat and loses its foam quickly.
One honest caveat first. Without a steam wand you will get foam, not true microfoam. The bubbles are a little larger and the texture is airier, which suits a cappuccino or a foamy latte. It is fine for the cup you drink, though not ideal for detailed pouring. The methods below show how to get the best result from each tool.
Why Milk Foams and What Helps
Milk foam is air trapped by milk proteins. When you whip air into milk, the proteins wrap around the bubbles and hold them in place. Gentle warming makes the proteins work better, which is why lukewarm milk foams more easily than ice-cold milk and keeps its foam longer. Overheating breaks that structure down.
Fat changes the feel. Whole milk gives a creamier, softer foam, while lower-fat milk often makes a taller, drier foam that fades faster. Fresh milk generally foams better than milk close to its date. Here is how common choices tend to behave:
| Milk | Typical foam result |
|---|---|
| Whole dairy milk | Creamy, fairly stable, slightly sweet |
| Low-fat or skim dairy milk | Tall and airy, drier, collapses sooner |
| Lactose-free dairy milk | Foams much like regular milk |
| Soy milk | Usually foams well and holds its shape |
| Oat milk | Moderate foam, soft and creamy; versions labeled for baristas tend to do better |
| Almond milk | Thin, large bubbles that fade quickly |
Plant milks vary a lot between products, so treat this table as a starting point and test your own carton.
How to Froth Milk Without a Frother: Five Methods Compared
Pick the method based on the tools in your kitchen and how much foam you want. This table summarizes what to expect.
| Method | Equipment | Time | Foam style |
|---|---|---|---|
| Jar shake + microwave | Jar with tight lid, microwave | About 2 minutes | Light, airy, a bit coarse |
| French press | French press, pan or kettle | About 3 minutes | Dense, fine-textured, the closest to microfoam |
| Hand whisk | Small saucepan, whisk | About 4 minutes | Medium, a little uneven |
| Immersion blender | Hand blender, tall cup | About 2 minutes | Thick, plenty of volume |
| Cold shake | Jar with tight lid | Under 1 minute | Light cold foam for iced drinks |
Method 1: Jar Shake and Microwave
This is the easiest option, and it needs no heat on the stove. The key is that you shake the milk cold and heat it afterward. Never shake hot milk in a sealed jar, because the pressure can push the lid off and burn you.
You need: 120 ml / ½ cup milk, a 500 ml / 16 oz jar with a tight lid, and a microwave.
- Pour the cold milk into the jar. It should fill no more than one-third to one-half, because the foam needs room to expand.
- Seal the lid tightly and shake hard for 30–60 seconds, until the milk has roughly doubled in volume.
- Remove the lid completely, including any metal parts, and microwave for 20–30 seconds. Power levels differ, so start short.
- Let the jar sit for 20 seconds, then tap it firmly on the counter to pop the biggest bubbles.
- Pour the milk into your coffee, holding back the foam with a spoon, then spoon the foam on top.
The jar will be hot, so use a towel to hold it.
Method 2: French Press
For a no-equipment-purchase foam, the French press is the strongest option. The mesh screen breaks air into small bubbles, which makes a denser, silkier result than shaking. If you already use one for brewing, our guide to making French press coffee covers the basics of the tool itself. Rinse it well first so no old coffee oils end up in the milk.

You need: 200 ml / ¾ cup milk, a 350 ml / 12 oz or larger French press, and a small pan or microwave.
- Warm the milk to about 60–65 °C (140–150 °F). It should steam gently but not simmer.
- Pour it into the French press, filling it no more than halfway.
- Place the plunger so the screen sits just under the surface. Pump it up and down steadily for 20–30 seconds.
- When the foam has roughly doubled, stop pumping and let the press rest for 30 seconds.
- Pour the milk gently, then spoon the remaining foam on top.
Use a press with an undamaged glass carafe, as hot milk and a chipped or cracked press are a bad mix.
Method 3: Hand Whisk in a Saucepan
A whisk gives you control, and you only need one pan. A balloon whisk works best because it traps more air, although a fork will do in an emergency.
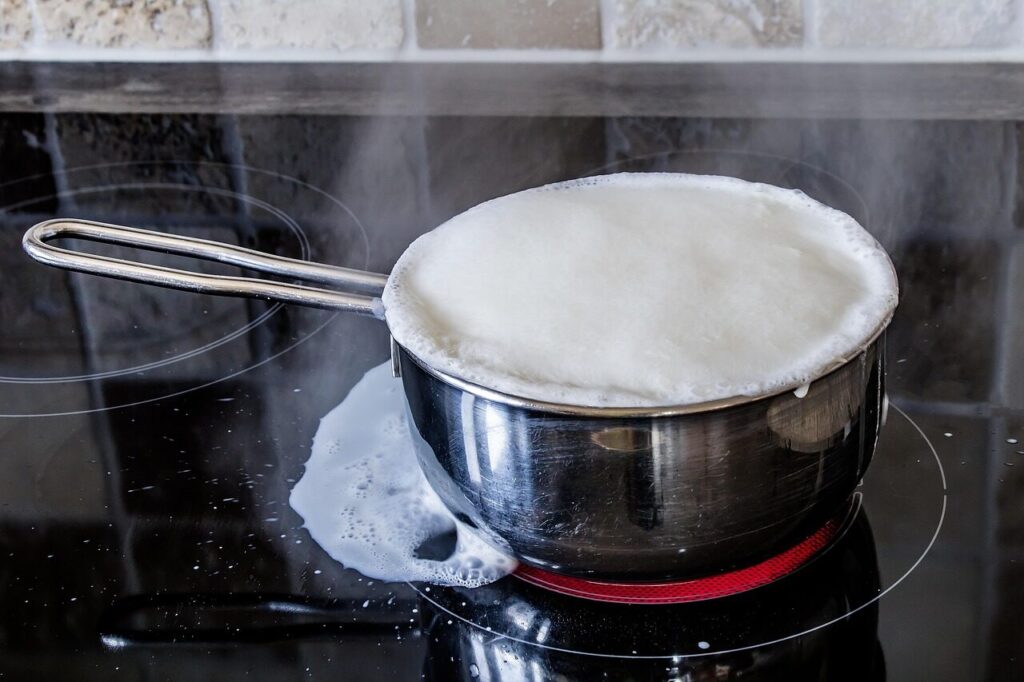
You need: 240 ml / 1 cup milk, a small saucepan and a balloon whisk.
- Heat the milk over medium-low heat, stirring now and then, until it is steaming and reaches 60–65 °C (140–150 °F). Without a thermometer, stop when small bubbles appear at the edge but before it simmers.
- Take the pan off the heat and tilt it slightly.
- Whisk fast with a side-to-side motion, keeping the whisk near the surface so it pulls in air. Continue for 30–60 seconds.
- Tap the pan on the counter, wait 20 seconds, and pour.
Method 4: Immersion Blender
A hand blender makes the biggest volume in the least time, but it is easy to overdo. Use a tall, narrow cup so the milk does not splash.
- Warm 180 ml / ¾ cup milk to 60–65 °C (140–150 °F) and pour it into a tall cup or jug.
- Hold the blender head just below the surface and switch it on. Keep it there for 10 seconds so it pulls air in.
- Lower the head slowly toward the bottom for another 10 seconds to break up large bubbles.
- Tap the cup on the counter and swirl it before pouring.
If the blender head sits too deep from the start, you will heat and swirl the milk with no foam at all.
Method 5: Cold Foam for Iced Drinks
Cold foam skips the heating step. Shake 120 ml / ½ cup of cold milk in a sealed jar for about 30 seconds until it thickens, then spoon it over the drink. Lower-fat milk often gives a stiffer cold foam. It pairs well with the drink in our guide to making an iced latte at home.

Fixing Common Foam Problems
- Foam collapses in a minute. The milk was probably too hot or too cold. Aim for the 60–65 °C (140–150 °F) range, and pour soon after frothing.
- Big, soapy bubbles. Tap the container firmly on the counter and swirl the milk for a few seconds. Use a shorter, faster whisk motion next time.
- Not enough volume. The container is probably too full. Fill to half at most, or use a larger one.
- Foam tastes burnt. The milk got too hot. Lower the heat and take it off the stove earlier.
- Plant milk will not foam. Try a different brand or type, warm it gently, and shake or press for a little longer. Some products simply do not foam well.
Turning Your Foam Into a Drink
Once you have foam, the rest is proportion. A cappuccino uses about equal parts espresso, steamed milk and foam, and our guide to how to make a cappuccino explains the balance. You also need a strong base, and you can get one without a machine by following our notes on making espresso without a machine.
If you want to pour patterns, the smoother texture from a French press gets you closest. Even then, expect simple shapes at best. For technique, see how to make latte art.
Which Method to Start With
If you own a French press, begin there, since it gives the best texture with the least practice. If you do not, use the jar and microwave method, which is hard to get wrong. Try the whisk when you want a bit more control, and keep the hand blender for days when you need a large amount of foam quickly.
Whichever you choose, use the same milk and the same amounts for a few mornings. Changing only one variable at a time shows you quickly what makes your foam better.
Frequently Asked Questions
Can you froth cold milk without a frother?
Yes. Shake cold milk in a sealed jar for about 30 seconds, or whisk it briskly, and you will get a light cold foam. It is softer than warm foam, but it works well on iced coffee and settles slowly.
Why does my homemade foam disappear so fast?
Most often the milk was overheated, which weakens the proteins that hold bubbles. Large, uneven bubbles also burst quickly. Keep the milk around 60–65 °C (140–150 °F), tap out big bubbles, and pour soon after frothing.
Can I froth plant-based milk this way?
Often, yes, but results vary by product. Soy milk usually foams well, while thin almond milk tends to fade quickly. Oat milk sits in the middle. Try a product labeled for barista use if you froth plant milk regularly.
Can I do latte art with milk frothed at home?
Simple shapes are possible with French press foam, because the texture is fine and smooth. Detailed patterns need microfoam from a steam wand. Without one, expect a more textured pour and let the milk rest briefly before you start.