Latte art brings a delightful twist to your coffee experience, turning a simple cup of joe into a canvas for creativity. Whether you’re a seasoned barista or just dipping your toes into the world of coffee, mastering latte art can elevate your brewing skills. Beyond just froth and espresso, this art form has an intriguing history and a vibrant culture that spans the globe. So grab your tools, because it’s time to explore the beautiful and delicious world of latte art!
What is Latte Art?
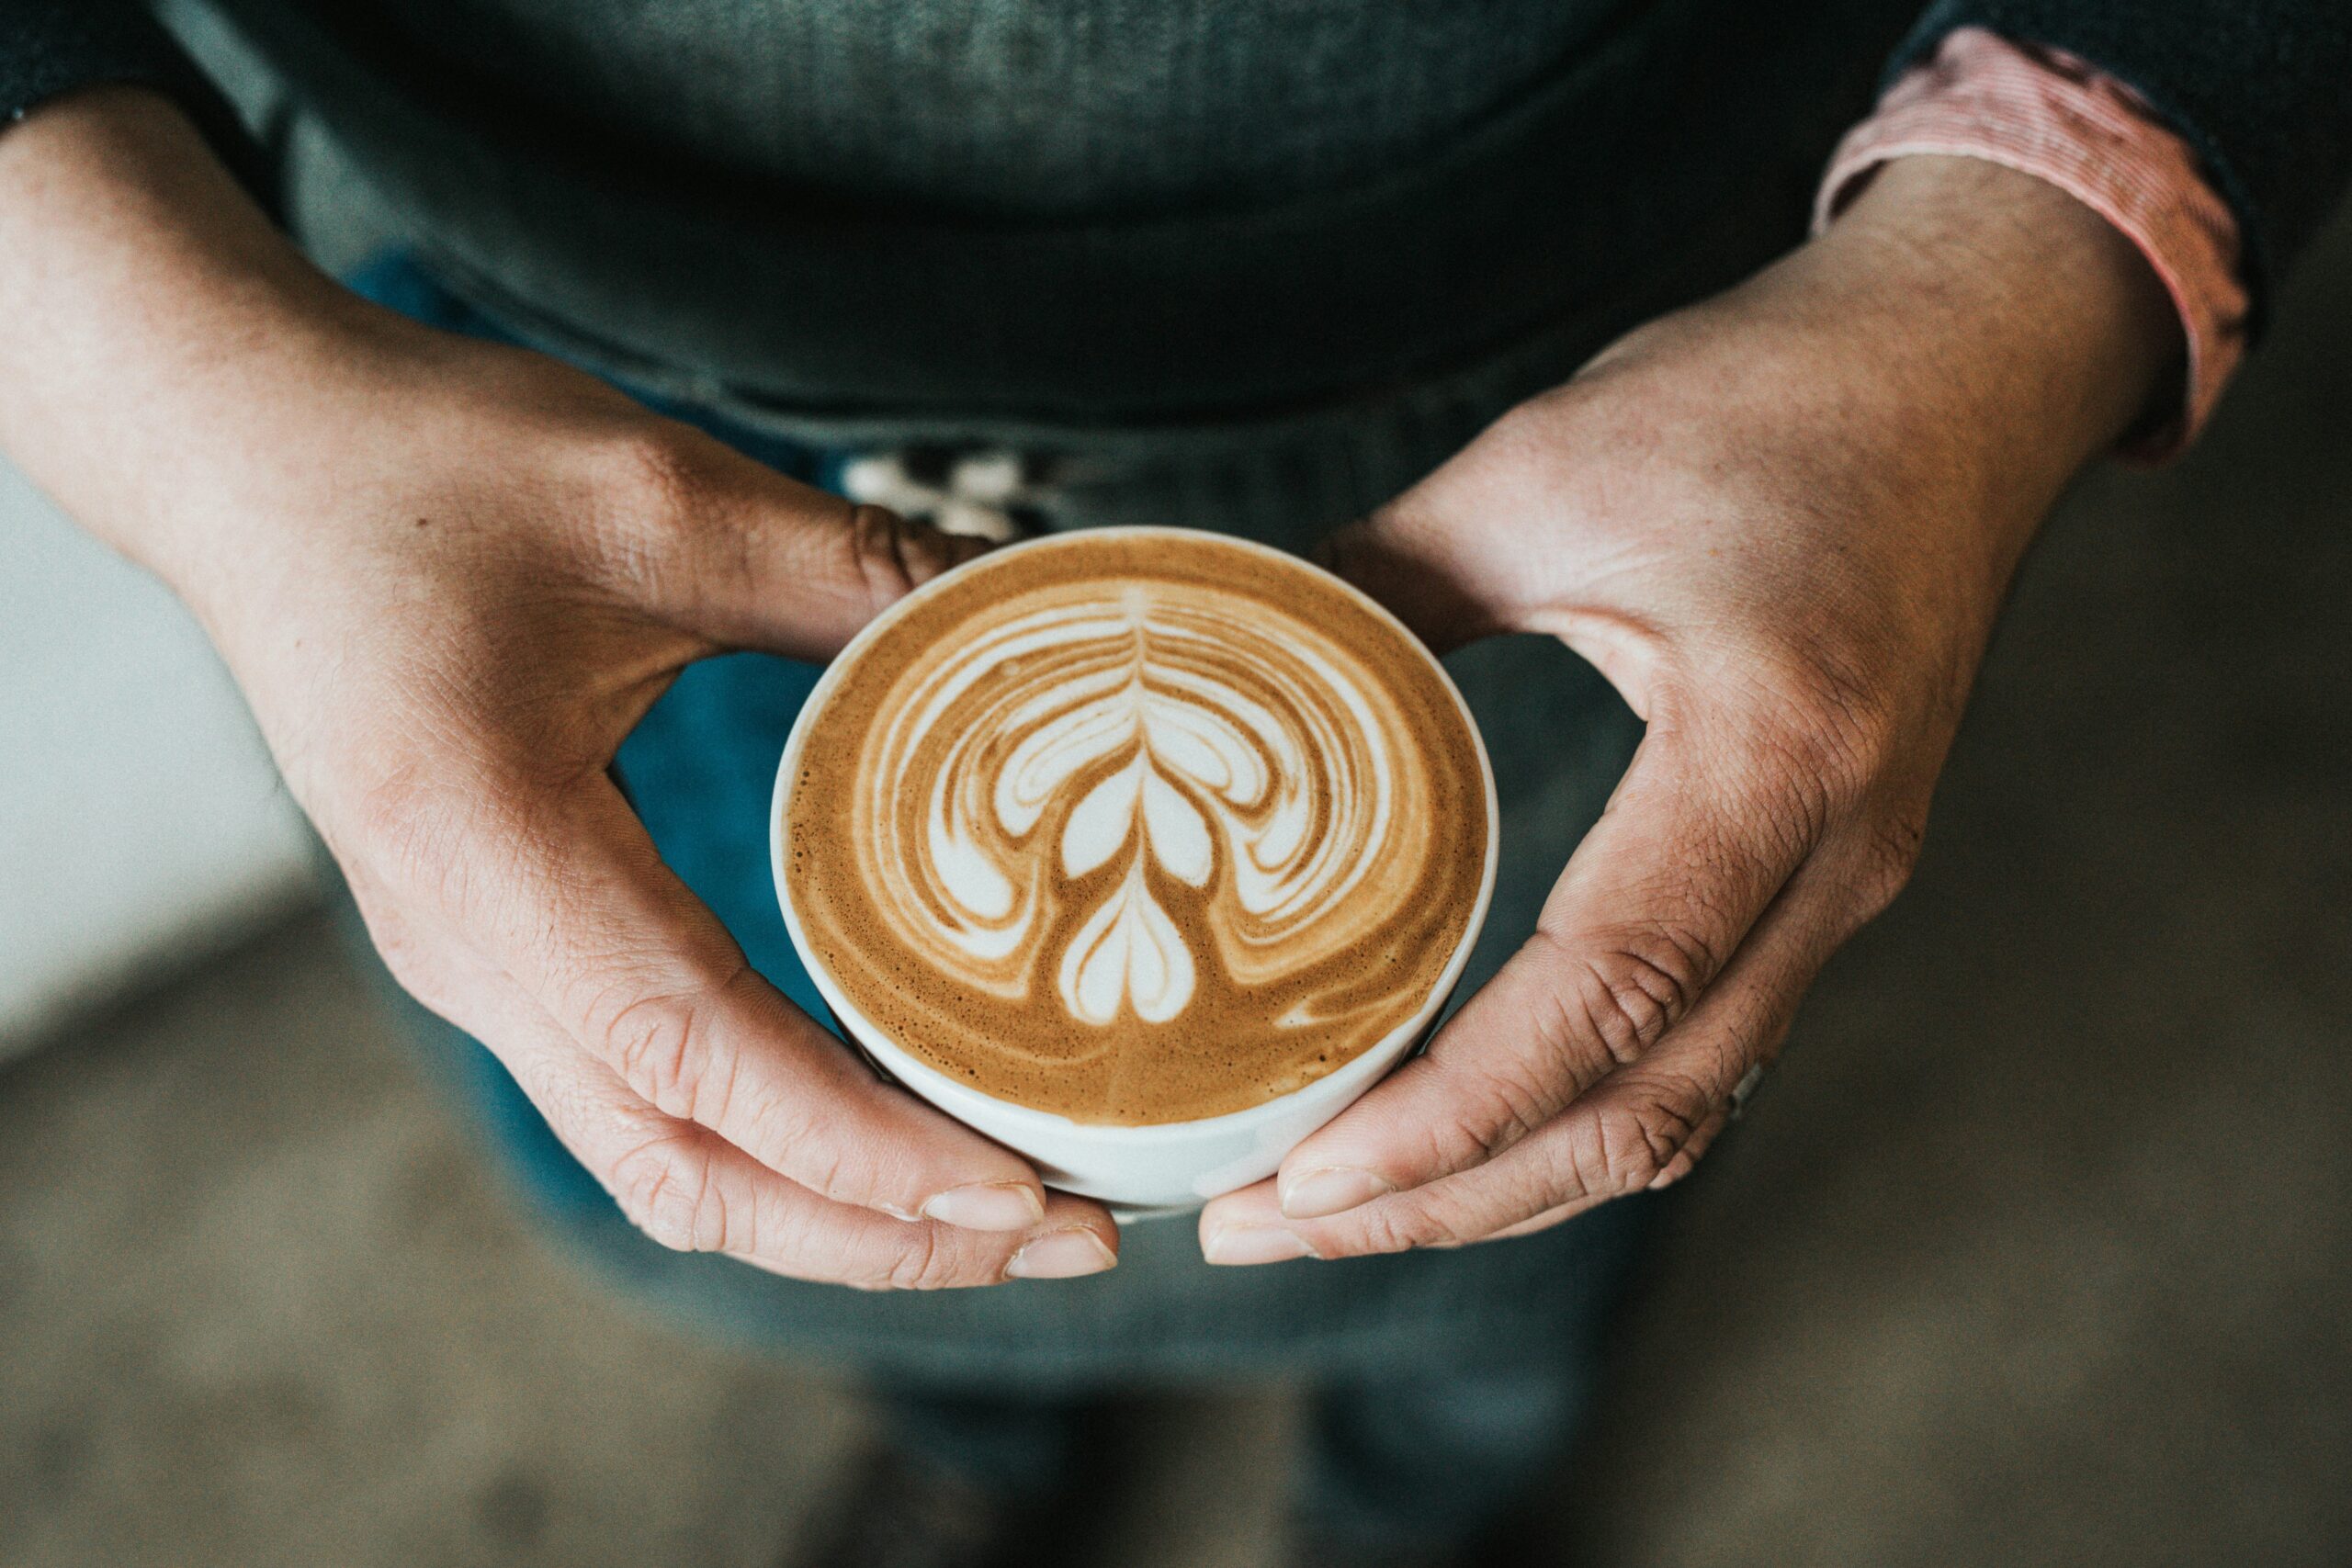
Latte art is the magical dance of coffee and milk, creating stunning visual designs on top of your morning brew. It transforms an ordinary latte into a delightful experience, making every sip a feast for the eyes as well as the taste buds.
Essentially, latte art involves pouring steamed milk into a shot of espresso in a way that forms intricate patterns or designs. This artistic flair can range from simple hearts to more complex figures like rosettas and tulips.
Key Components of Latte Art:
- Espresso: The base of any good latte, providing bold flavor and creating a canvas for your art.
- Milk: Not just any milk! The texture and temperature are crucial; you want it silky and velvety.
- Technique: Mastering the pour is essential. The angle of the jug and speed of your pour affect the final design.
Fun Fact:
Did you know that latte art is often a competition among baristas? They showcase their skills and creativity, pushing the boundaries of what can be achieved with just milk and coffee.
So, the next time you sip on your latte, take a moment to appreciate the artistry that makes your drink a visual treat! The world of latte art is waiting for you to explore, so grab your espresso machine and start practicing!
A Brief History of Latte Art
Latte art, that mesmerizing blend of coffee and creativity, has quite an intriguing backstory. It all began in the late 1980s and early 1990s in Italy, where baristas started to experiment with frothed milk. They aimed to create a visually appealing presentation—a practice that quickly spread beyond Italian borders.
Key Milestones in Latte Art History:
- Origin in Italy: Baristas in Milan began to craft basic designs, primarily focusing on hearts and rosettes.
- The American Influence: As espresso culture blossomed in the U.S., coffee shops in Seattle and San Francisco adopted these early techniques, refining them to elevate the art further.
- The Global Phenomenon: By the 2000s, latte art had become a worldwide sensation. Competitions, like the World Latte Art Championships, showcased talented artists, thus pushing the boundaries of this craft.
Evolution in Technique:
- Heart and Rosette: The first designs were quite simple, often just a heart or a swirl.
- Advanced Techniques: As baristas grew bolder, intricate designs like tulips and even portraits emerged, thanks to an improved understanding of milk frothing and pouring techniques.
So next time you sip on that beautifully crafted latte, remember you’re indulging in a tradition steeped in history and artistry! Latte art isn’t just a treat for your taste buds; it’s a visual feast that connects coffee lovers around the globe.
Tools You’ll Need for Latte Art
Creating stunning latte art is all about having the right tools on hand. Whether you’re a beginner or an experienced barista, having the essential gear can make a world of difference in achieving that perfect pour. Here’s a quick breakdown of what you’ll need:
- Espresso Machine:
- Look for one with a steam wand. This is an absolute must for frothing milk to the right consistency.
- Milk Frothing Pitcher:
- A metal pitcher helps you achieve the perfect milk texture. Opt for one with a spout for better control during pouring.
- Thermometer:
- Ensuring your milk is at the right temperature (between 150°F and 155°F) is crucial. A thermometer helps you avoid scalding the milk.
- Fresh Coffee Beans:
- Quality beans make a significant difference. Go for freshly roasted beans for the best flavor.
- Coffee Grinder:
- A good burr grinder will help you achieve consistent grind size, which is essential for making great espresso.
- Latte Art Tools (Optional):
- Etching tools: Take your latte art to the next level by using etching tools for more intricate designs.
- Stencils: For beginners, stencils can help guide your pour and shape.
With these tools in hand, you’re well-equipped to start your journey into the delightful world of latte art. So why wait? Grab your gear and get practicing!
The Basics of Frothing Milk
Frothing milk is a fundamental skill for creating stunning latte art. If you want to elevate your coffee game, mastering this technique is a must. Here’s how to get started:
- Choose Your Milk:
- Whole Milk: Creates rich and creamy froth.
- Skim Milk: Produces lighter foam but may lack depth.
- Non-Dairy Alternatives: Almond, soy, or oat milk can work, but frothing can vary based on the brand.
- The Right Equipment:
You can froth your milk using different tools, such as:- Steam Wand: The go-to for baristas, delivering hot, velvety milk.
- Frothing Pitcher: Essential for directing steam and achieving the perfect froth.
- Handheld Frother: Great for home use, but may not achieve barista-level results.
- Frothing Technique:
- Start with cold milk in your pitcher, filling it to about one-third.
- Immerse the steam wand just below the surface and turn it on. Aim for a whirlpool effect.
- Once you reach steaming temperatures, move the wand deeper to heat the milk evenly.
- Keep frothing until it doubles in volume and reaches a silky texture.
Remember, practice makes perfect! With these basics, you’ll be on your way to crafting beautiful latte art in no time.
Simple Latte Art Techniques to Get You Started
Getting into latte art can be exciting, especially when you see gorgeous designs topping your favorite coffee. Luckily, you don’t need to be a barista to create beautiful latte art! Here are a few simple techniques to help you get started:
1. Heart
- How to Do It: Start by pouring your frothed milk slowly into the center of the espresso. As you pour, tilt the cup slightly. Once the heart shape starts to form, move the pitcher back and forth, then lift it away to finish the point.
2. Rosetta
- How to Do It: Pour the milk in gradually, and as you pour, gently move the pitcher side to side to create leaf-like shapes. The trick is to do a quick flick at the end to finish your rosetta.
3. Tulip
- How to Do It: This design is a combination of the heart and rosetta methods. Pour a heart, then pour another drop of milk behind it, and finish with another heart!
Tips:
- Practice: As with any skill, practicing regularly will enhance your technique.
- Experiment with Milk: Different milk types can yield different frothing results.
With these simple techniques, you can dive into the world of latte art and impress your friends with your new skills! Enjoy experimenting and happy pouring!
Popular Latte Art Designs
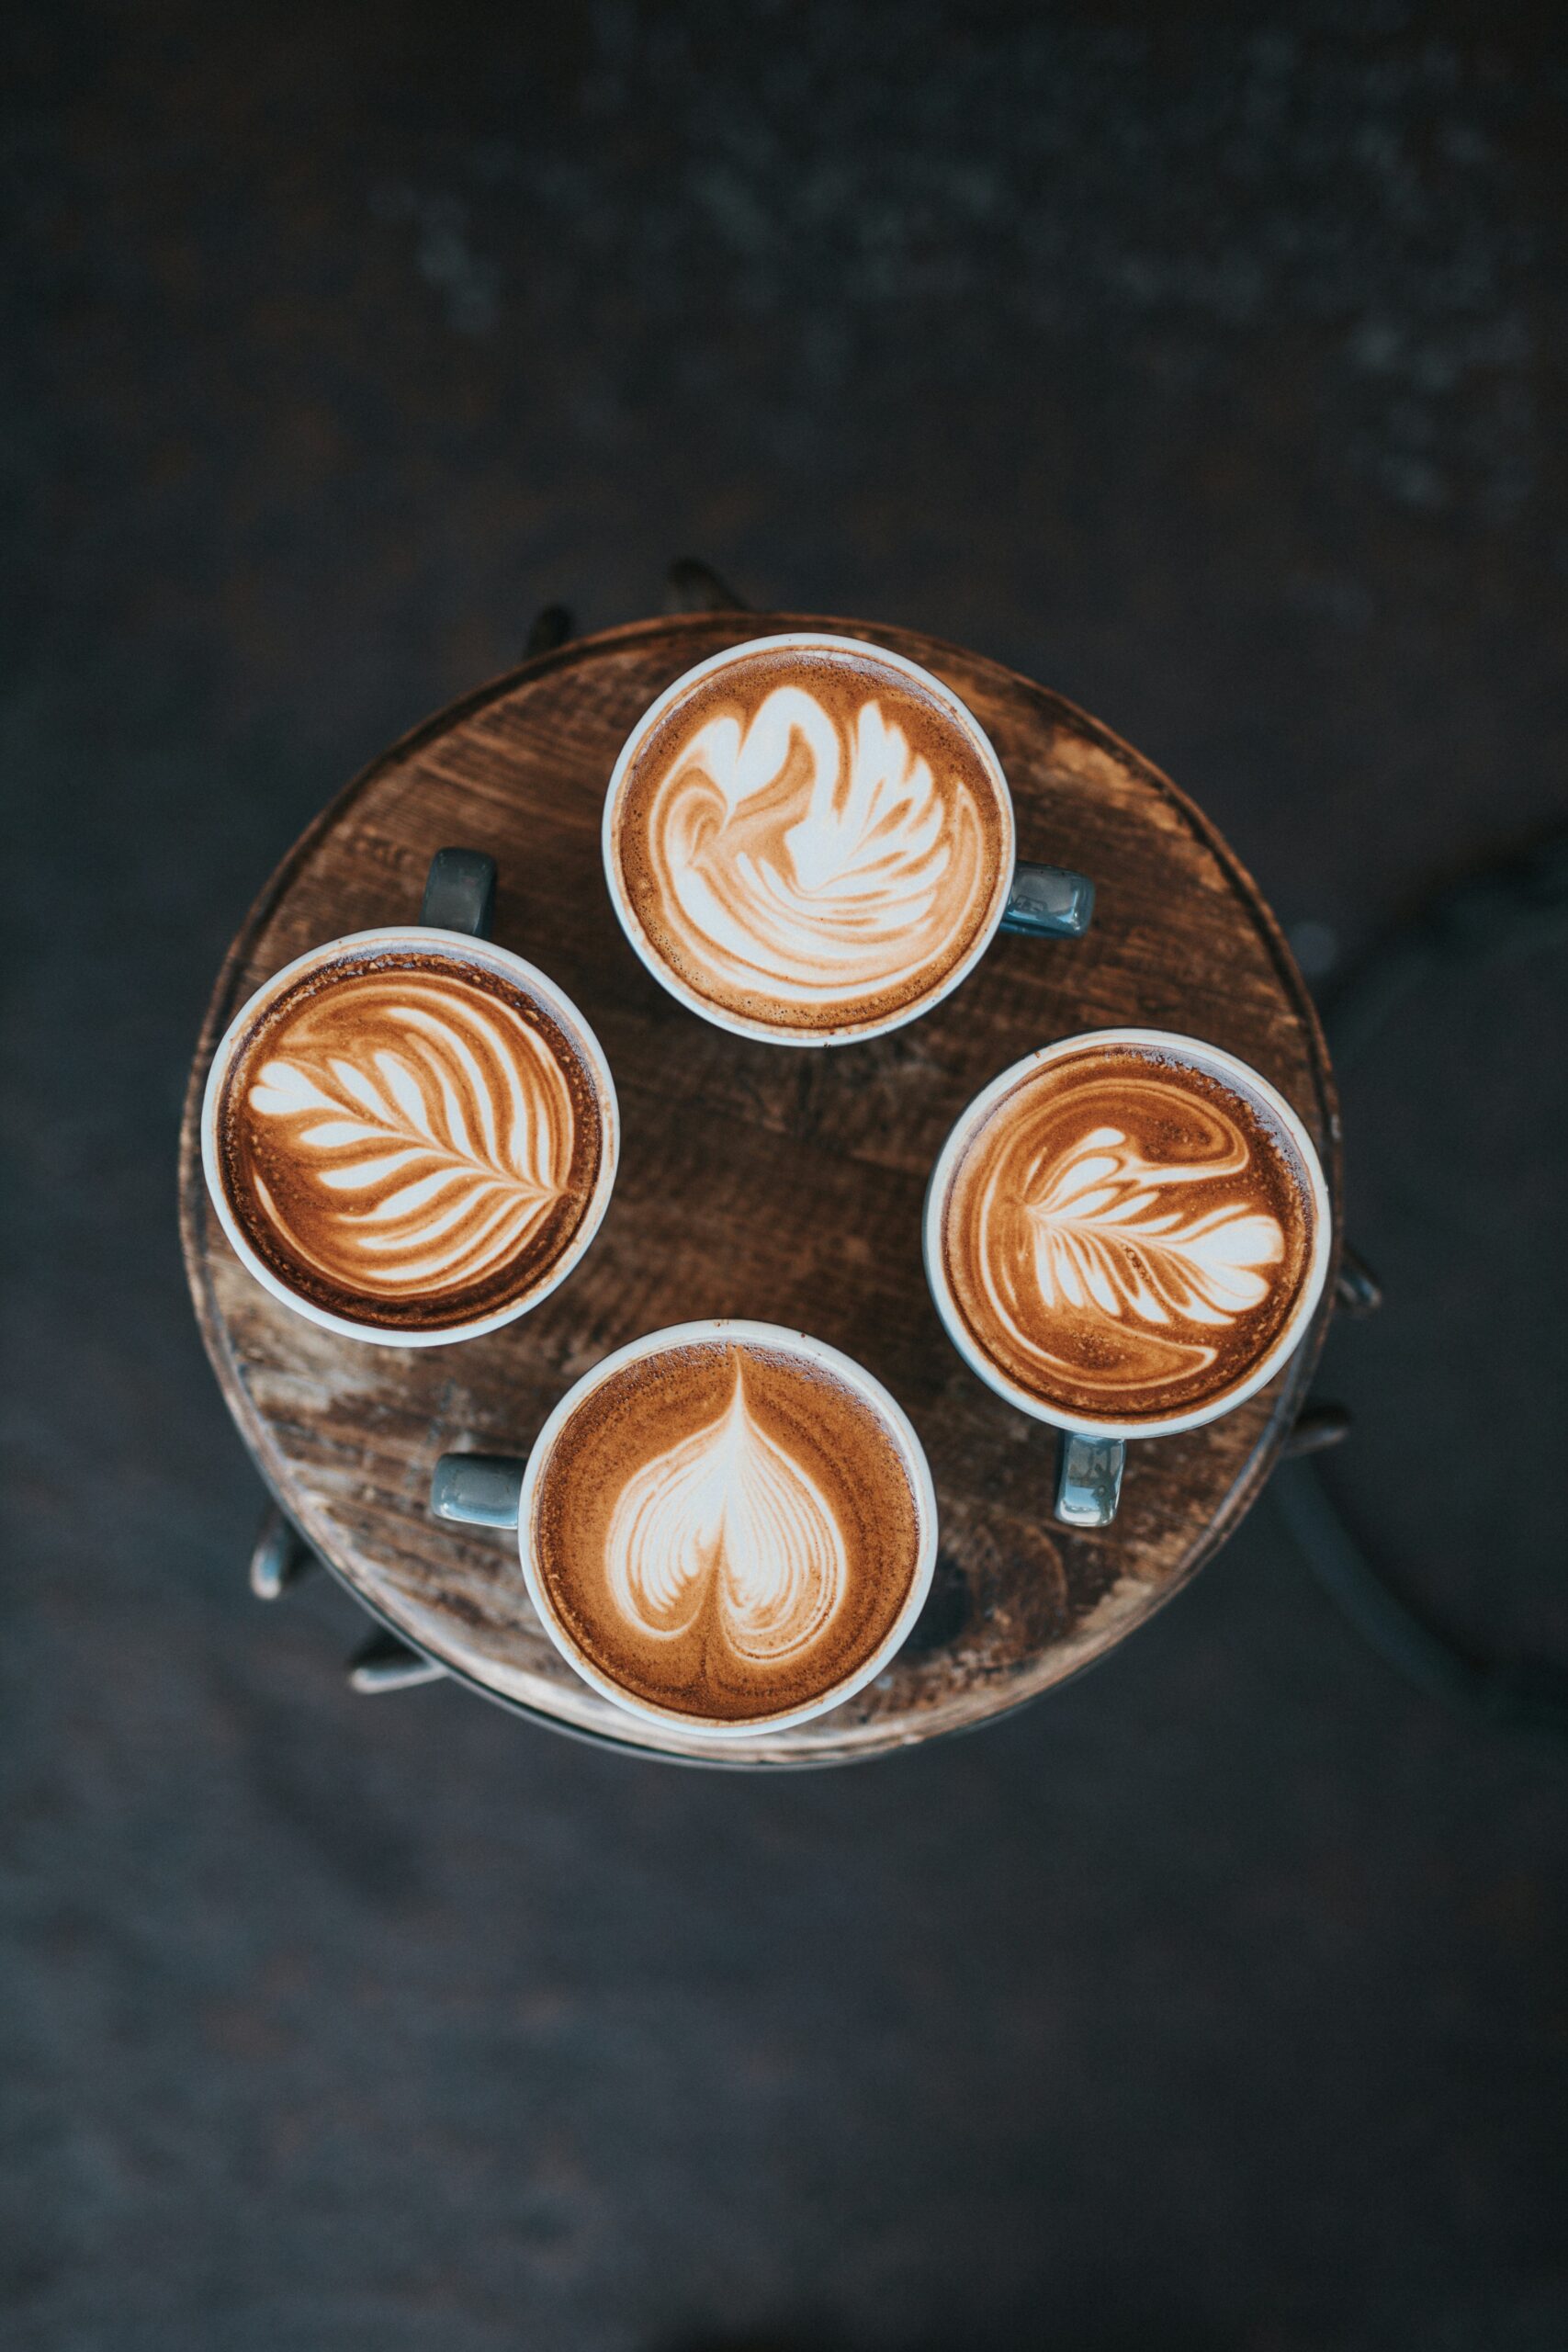
Latte art isn’t just about making your coffee look fancy; it’s about expressing creativity! Here are some popular latte art designs to get you started on your artistic journey:
- Hearts: One of the simplest designs, the heart shows off your ability to pour a steady stream of milk. Just tilt the cup and pour milk into the center as you move closer—watch the heart bloom!
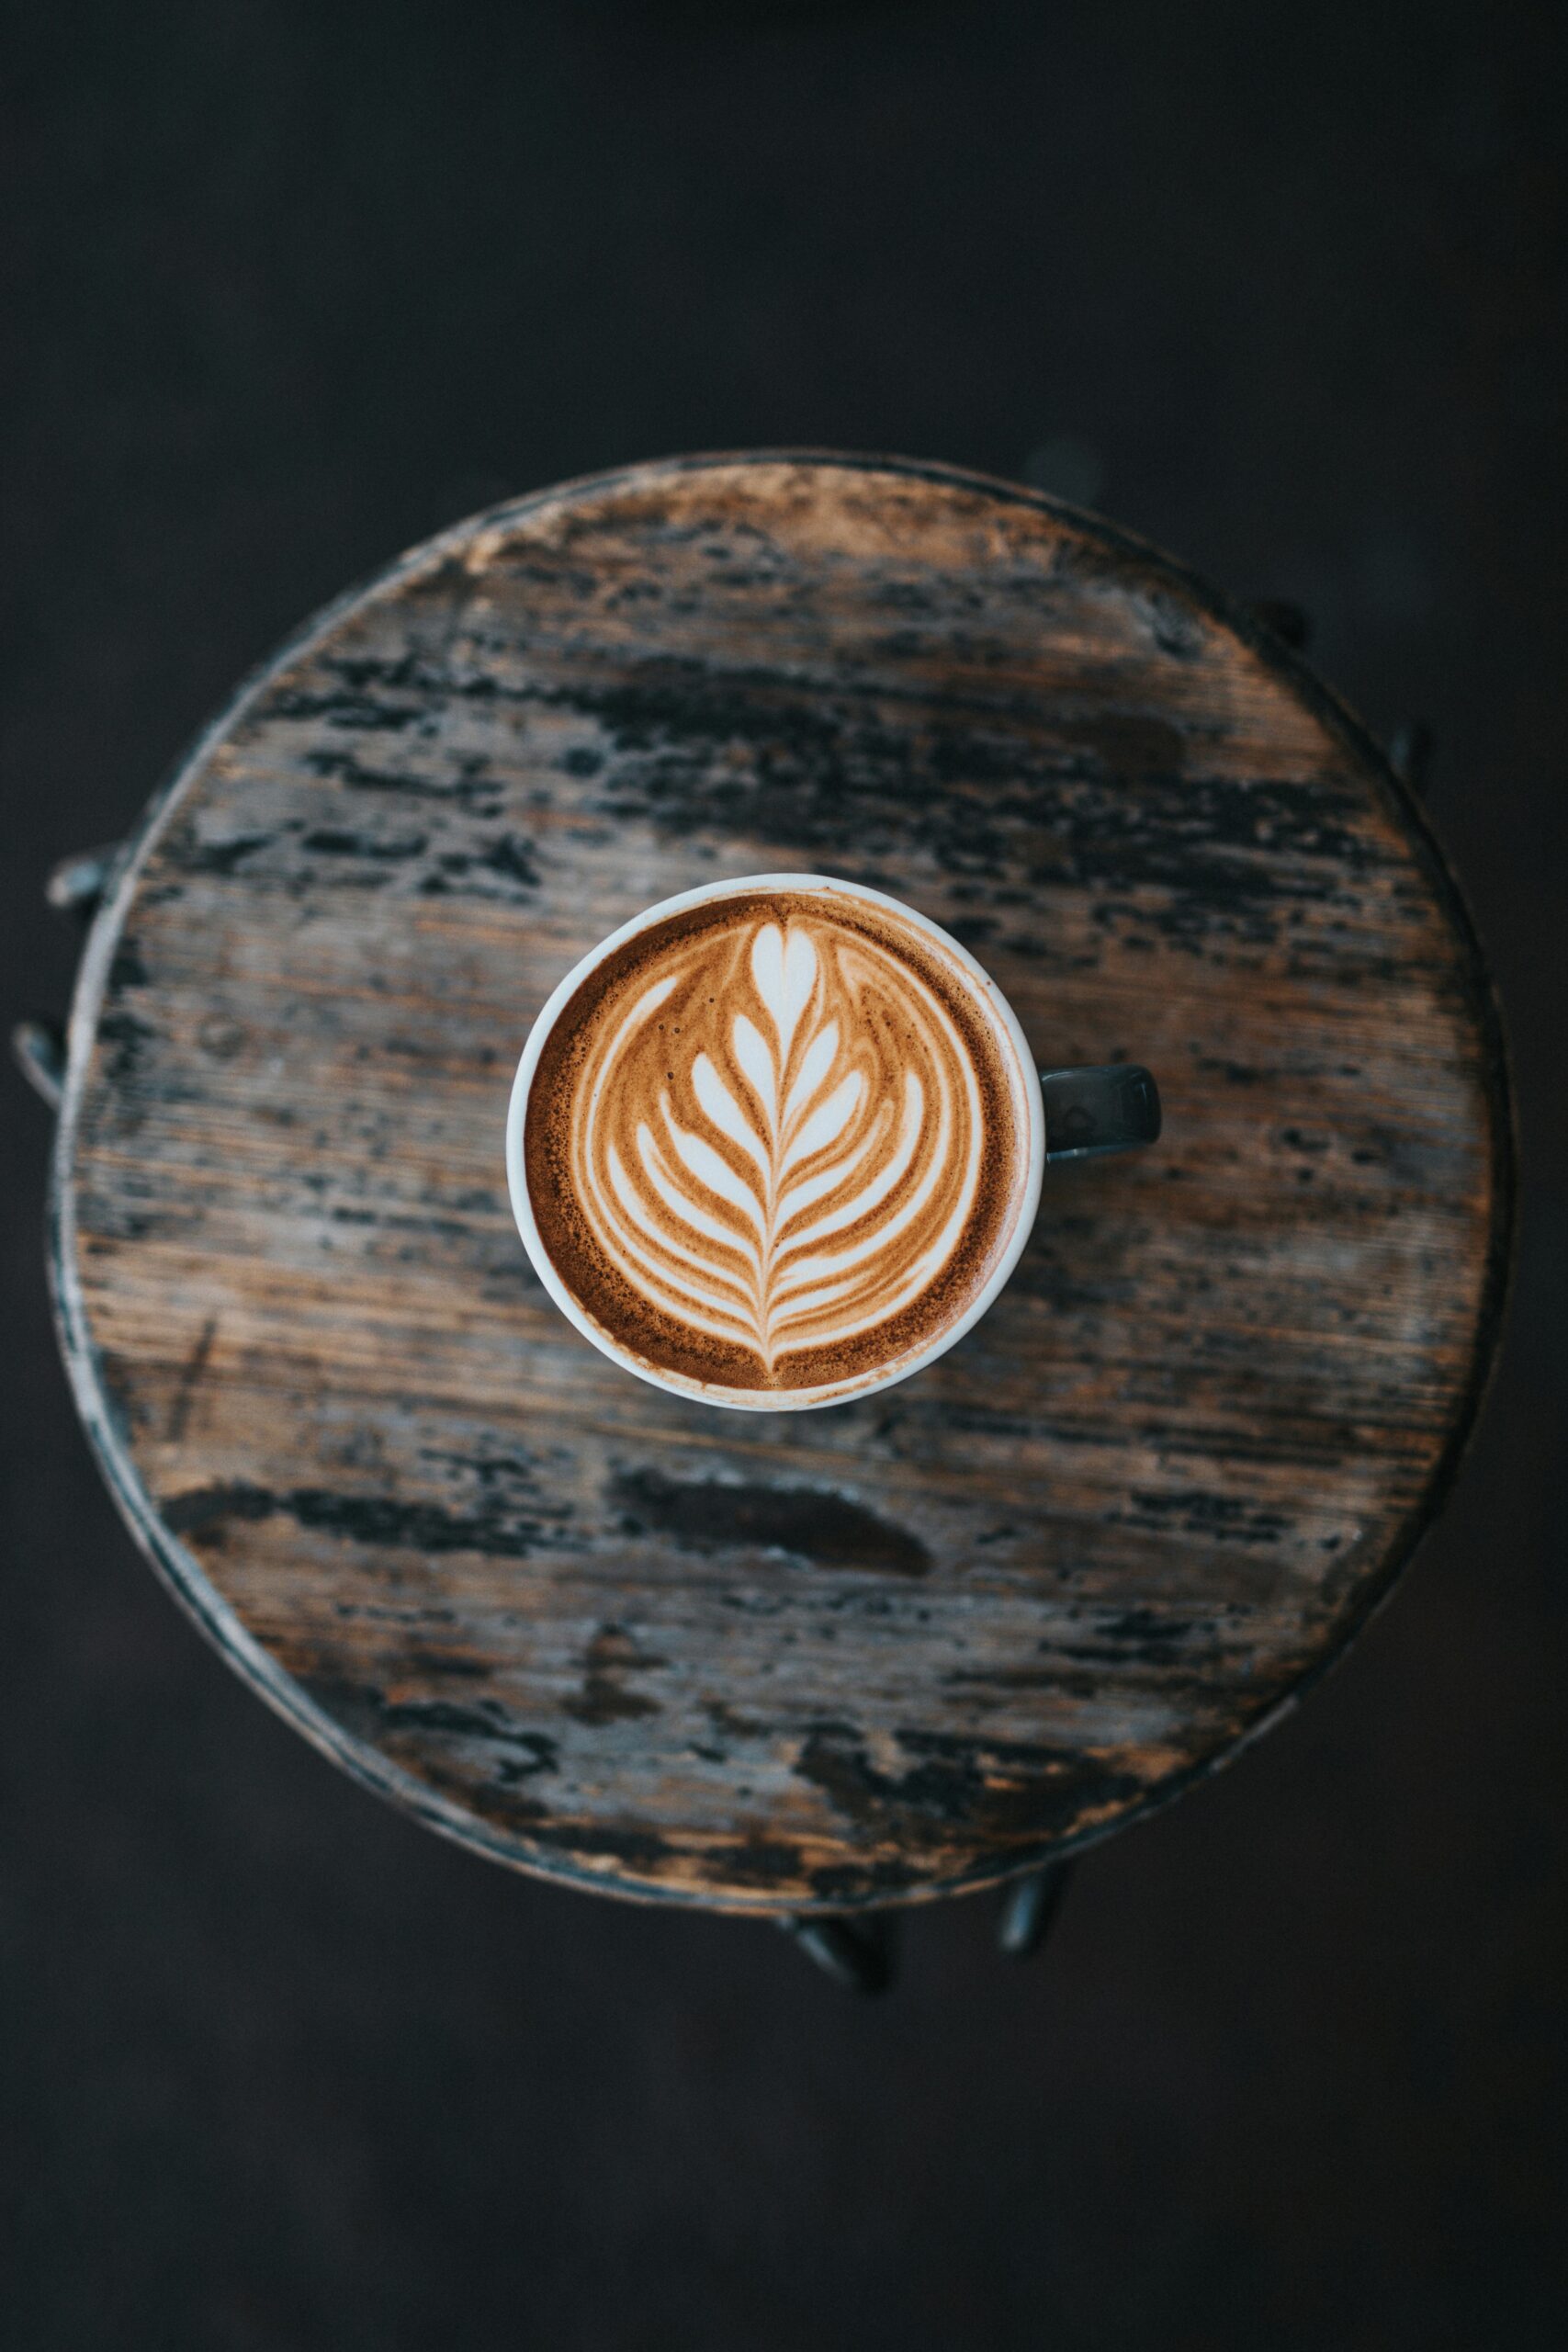
- Rosetta: This design resembles a fern. Pouring the milk at an angle and using a side-to-side motion creates beautiful, leafy patterns. It’s a favorite among baristas for its elegance.
- Tulip: A bit more complex, this design combines small heart shapes layered on top of each other. With practice, you can make a stunning flower-like finish that impresses anyone.
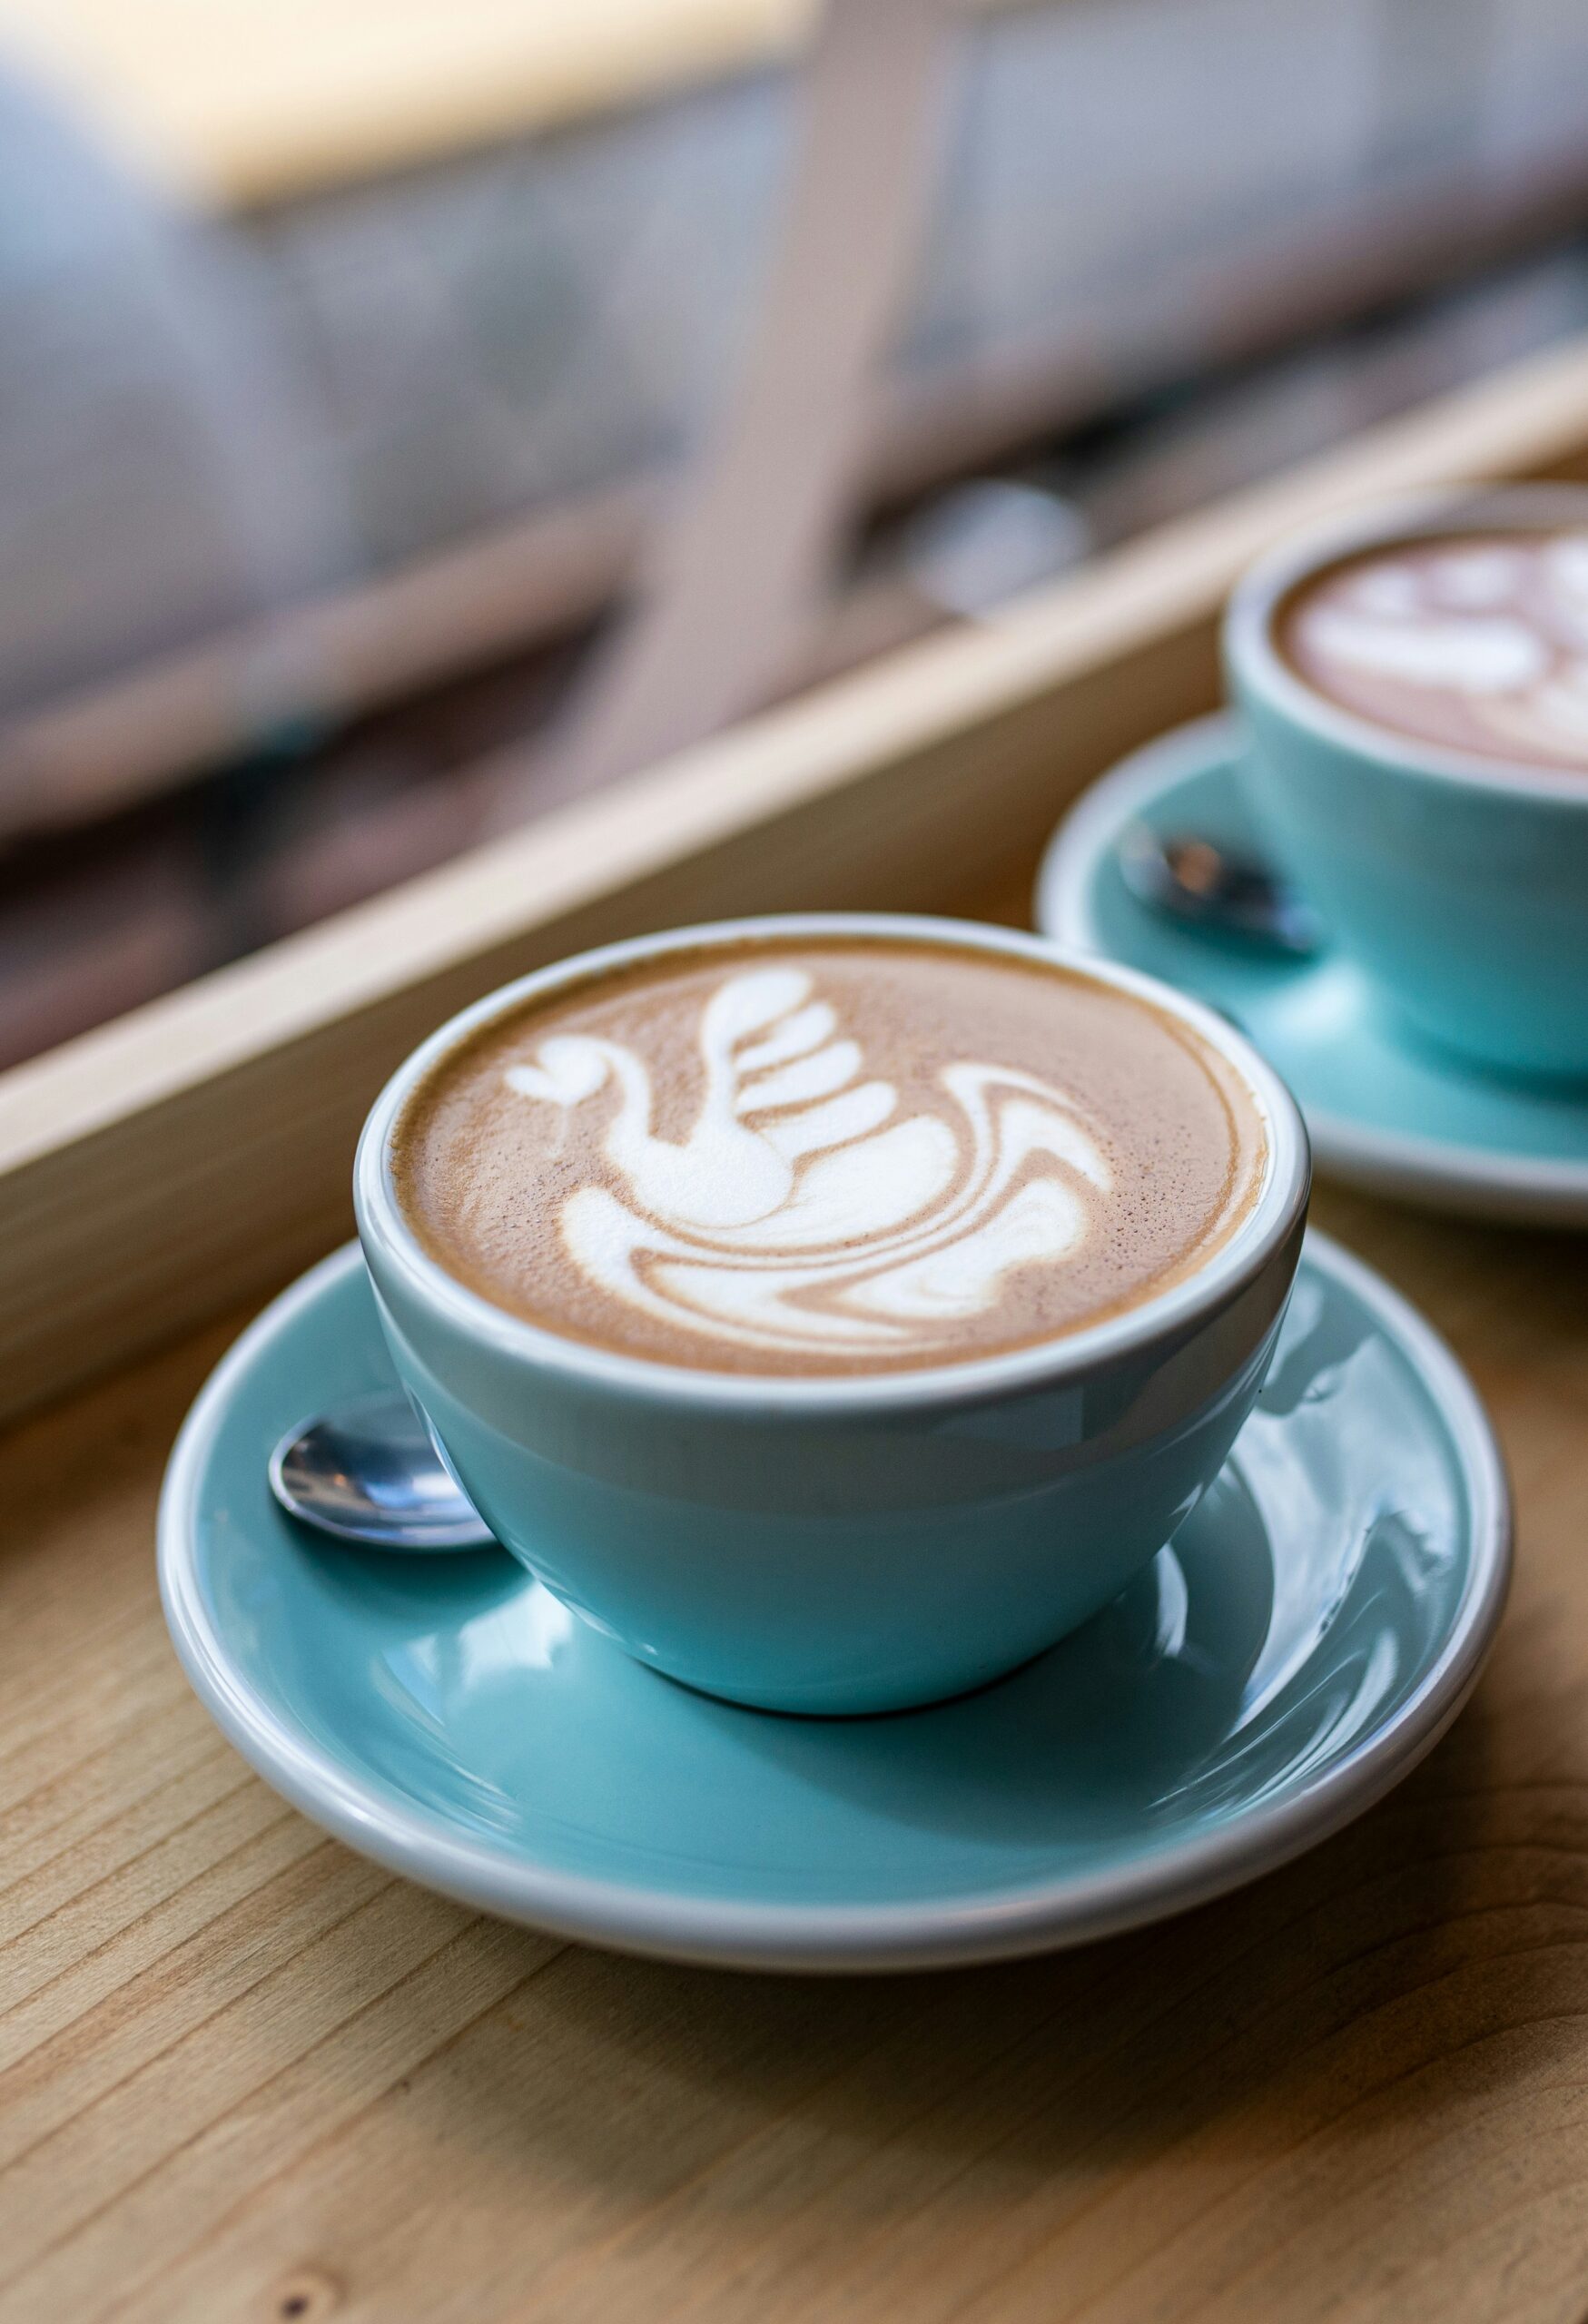
- Swan: For those feeling adventurous, the swan design combines the heart and rosetta techniques. Visualize a graceful swan gliding across the water as you pour!
- Geometric Shapes: If you’re looking for something unique, try creating geometric patterns. They might not be traditional latte art, but they can be visually striking and fun to make!
Quick Comparison Table
| Design | Difficulty | Impressive Factor |
|---|---|---|
| Heart | Easy | Moderate |
| Rosetta | Medium | High |
| Tulip | Medium | High |
| Swan | Hard | Very High |
| Geometric | Variable | Creative |
So, grab your frothing pitcher and start practicing these popular latte art designs! Each pour is an opportunity to showcase your unique style.
Troubleshooting Common Issues
When diving into the world of latte art, it’s normal to face a few hiccups along the way. Don’t worry! Most issues are simple to fix, and troubleshooting can actually be a fun part of your learning journey. Here’s a quick guide to help you tackle common problems:
1. Milk Not Frothing Properly
- Issue: Milk remains flat and lacks volume.
- Solution: Ensure you’re using fresh, cold milk. A thermometer can help; aim for 150°F (65°C). Remember, a good froth starts with the right technique and steam wand angle.
2. Unstable Foam
- Issue: Foam collapses quickly after frothing.
- Solution: This often happens with over-frothed milk. Instead, strive for microfoam by incorporating air gradually and keeping the steam wand submerged.
3. Latte Art Not Staying
- Issue: Designs don’t hold shape.
- Solution: Pour with confidence! A higher pour height can bring the foam together, while pouring too slowly might disrupt your design.
4. Poor Contrast in Designs
- Issue: Your art looks washed out.
- Solution: Adjust your espresso extraction. A darker, richer shot allows the milk to contrast, giving your latte art more depth.
A Quick Recap
- Use cold, fresh milk for optimal frothing.
- Aim for microfoam, not excess foam.
- Pour with precision and confidence.
- Ensure rich espresso for the best visuals.
With practice, you’ll turn these common issues into stepping stones towards creating beautiful latte art!
Tips for Practicing Latte Art
Getting the hang of latte art can be both fun and challenging. Whether you’re a beginner or looking to perfect your skills, here are some handy tips to elevate your latte art game:
- Start with the Basics: Begin with simple designs like hearts or dots. Master these before moving on to more intricate patterns.
- Choose the Right Milk: Use whole milk for its creamy consistency and ability to froth well. Experimenting with alternatives like oat or almond milk can yield different results, too.
- Temperature Matters: Froth your milk to a temperature between 150°F and 160°F (65°C to 70°C). This range maintains sweetness while ensuring microfoam.
- Practice Your Pour: Hold the cup at an angle and pour from about 3-5 inches above. As you pour, lower the jug and aim for the center, focusing on creating a steady flow.
- Utilize Motion: Use wrist movement to create shapes. Start with a gentle pour and transition to a faster motion for designs like rosettas.
- Don’t Rush: Latte art requires patience. Give yourself time to practice and don’t be discouraged by early mistakes.
- Watch Tutorials: Video tutorials can offer visual guidance. Observing skilled baristas can provide new tips and inspire your creativity.
By incorporating these tips into your practice routine, you’ll find yourself getting better at creating beautiful latte art in no time!
How to Showcase Your Latte Art
Showcasing your latte art can elevate your coffee experience and impress your friends or customers. Here’s how to do it right:
1. Choose Your Setting
- Home: A cozy café vibe works perfectly at home. Set up a small table with good lighting.
- Café: If you’re a barista, create an inviting display on the counter.
2. Use the Right Tableware
- Opt for simple, elegant cups that highlight your masterpiece.
- Consider using a dark or colorful background to contrast with the creamy milk foam.
3. Share on Social Media
- Capture your latte art with well-lit photos. Natural light works wonders!
- Use hashtags like #LatteArt to connect with fellow enthusiasts.
4. Create a Latte Art Menu
- For cafés, consider a latte art menu to showcase different designs.
- Use a chalkboard to display daily specials featuring unique latte art.
5. Host Latte Art Competitions
- For fun gatherings, arrange competitions among friends or colleagues.
- This interactive method sparks creativity and encourages practice.
6. Keep It Fresh
- Change your designs regularly to keep your audience excited!
- Experiment with seasonal themes, like hearts for Valentine’s Day or leaves for autumn.
By following these tips, you’ll not only showcase your latte art but also create a memorable coffee experience for everyone involved! Enjoy the creativity that comes with each pour!
The Culture of Latte Art Around the World
Latte art isn’t just a trend; it’s a cultural phenomenon that varies from country to country. Here’s a quick look at how different places celebrate this delightful craft:
- Italy: Here, espresso reigns supreme. While you might find beautiful latte art in a café, Italians typically prefer their coffee straight up—no froth required!
- Japan: The Japanese have taken latte art to an artistic level, incorporating themes from popular anime and seasonal motifs. Expect intricate designs that are not only delicious but visually stunning.
- Australia: Known for its vibrant coffee culture, Australia embraces latte art both in cafés and competitive events. Aussie baristas often create “rosettas” and “hearts” that reflect their passion and precision in coffee-making.
- Sweden: In Sweden, fika (a coffee break) is a cherished tradition. Baristas love to impress customers with cute, charming latte art often resembling animals or floral designs, enhancing the coffee experience.
- United States: The US has seen a surge in latte art competitions like the World Latte Art Championship, pushing creativity to new heights. You’ll find everything from minimalist hearts to elaborate portraits.
As you can see, latte art unites coffee lovers, bringing creativity and joy across cultural boundaries! So, wherever you are, grab a cup and appreciate the craft that transforms your brew into a work of art.
Frequently Asked Questions
What is latte art?
Latte art is a technique used to prepare coffee, where baristas pour steamed milk into a shot of espresso to create beautiful patterns or designs on the surface of the drink. Popular styles include heart shapes, rosettas, and tulips. This art form elevates the coffee experience, making it not just a treat for the taste buds but also a feast for the eyes, enhancing the overall enjoyment of your beverage!
How do I make latte art at home?
Making latte art at home is totally achievable! First, you’ll need a good espresso machine and fresh coffee beans. Start by brewing a shot of espresso, then steam your milk until it’s velvety and frothy. The key to great latte art is the pouring technique; tilt the cup and pour the milk slowly and steadily to create a base, then move the pitcher closer to the coffee’s surface to shape your art. With practice, you’ll be pouring beautiful designs in no time!
What kind of milk is best for latte art?
For the best results in latte art, whole milk is typically recommended because its higher fat content allows for better foam quality and texture. The microfoam produced with whole milk is creamier and richer, which helps hold the shapes you create. However, if you’re looking for a non-dairy option, oat milk has become quite popular among baristas due to its ability to froth similarly to whole milk, making it an excellent alternative for stunning latte art.
Can anyone learn to make latte art?
Absolutely! While mastering latte art can take some time and patience, anyone with a passion for coffee can learn to do it. It requires practice to develop good pouring techniques and the ability to create the perfect microfoam. Don’t get discouraged if it doesn’t come out perfectly at first; keep experimenting, watch tutorials, and practice, and soon you’ll be impressing your friends with your coffee creations!
What are some common mistakes to avoid in latte art?
One common mistake in latte art is using milk that hasn’t been frothed properly, as this can lead to large bubbles and a shaky pour. Another frequent pitfall is pouring too fast or from too high, which can dilute your design. It’s also essential to maintain a steady hand and try not to rush the process. Take your time and enjoy it; the more you practice, the better your latte art will become!


